Web Export for UXP Plugin development

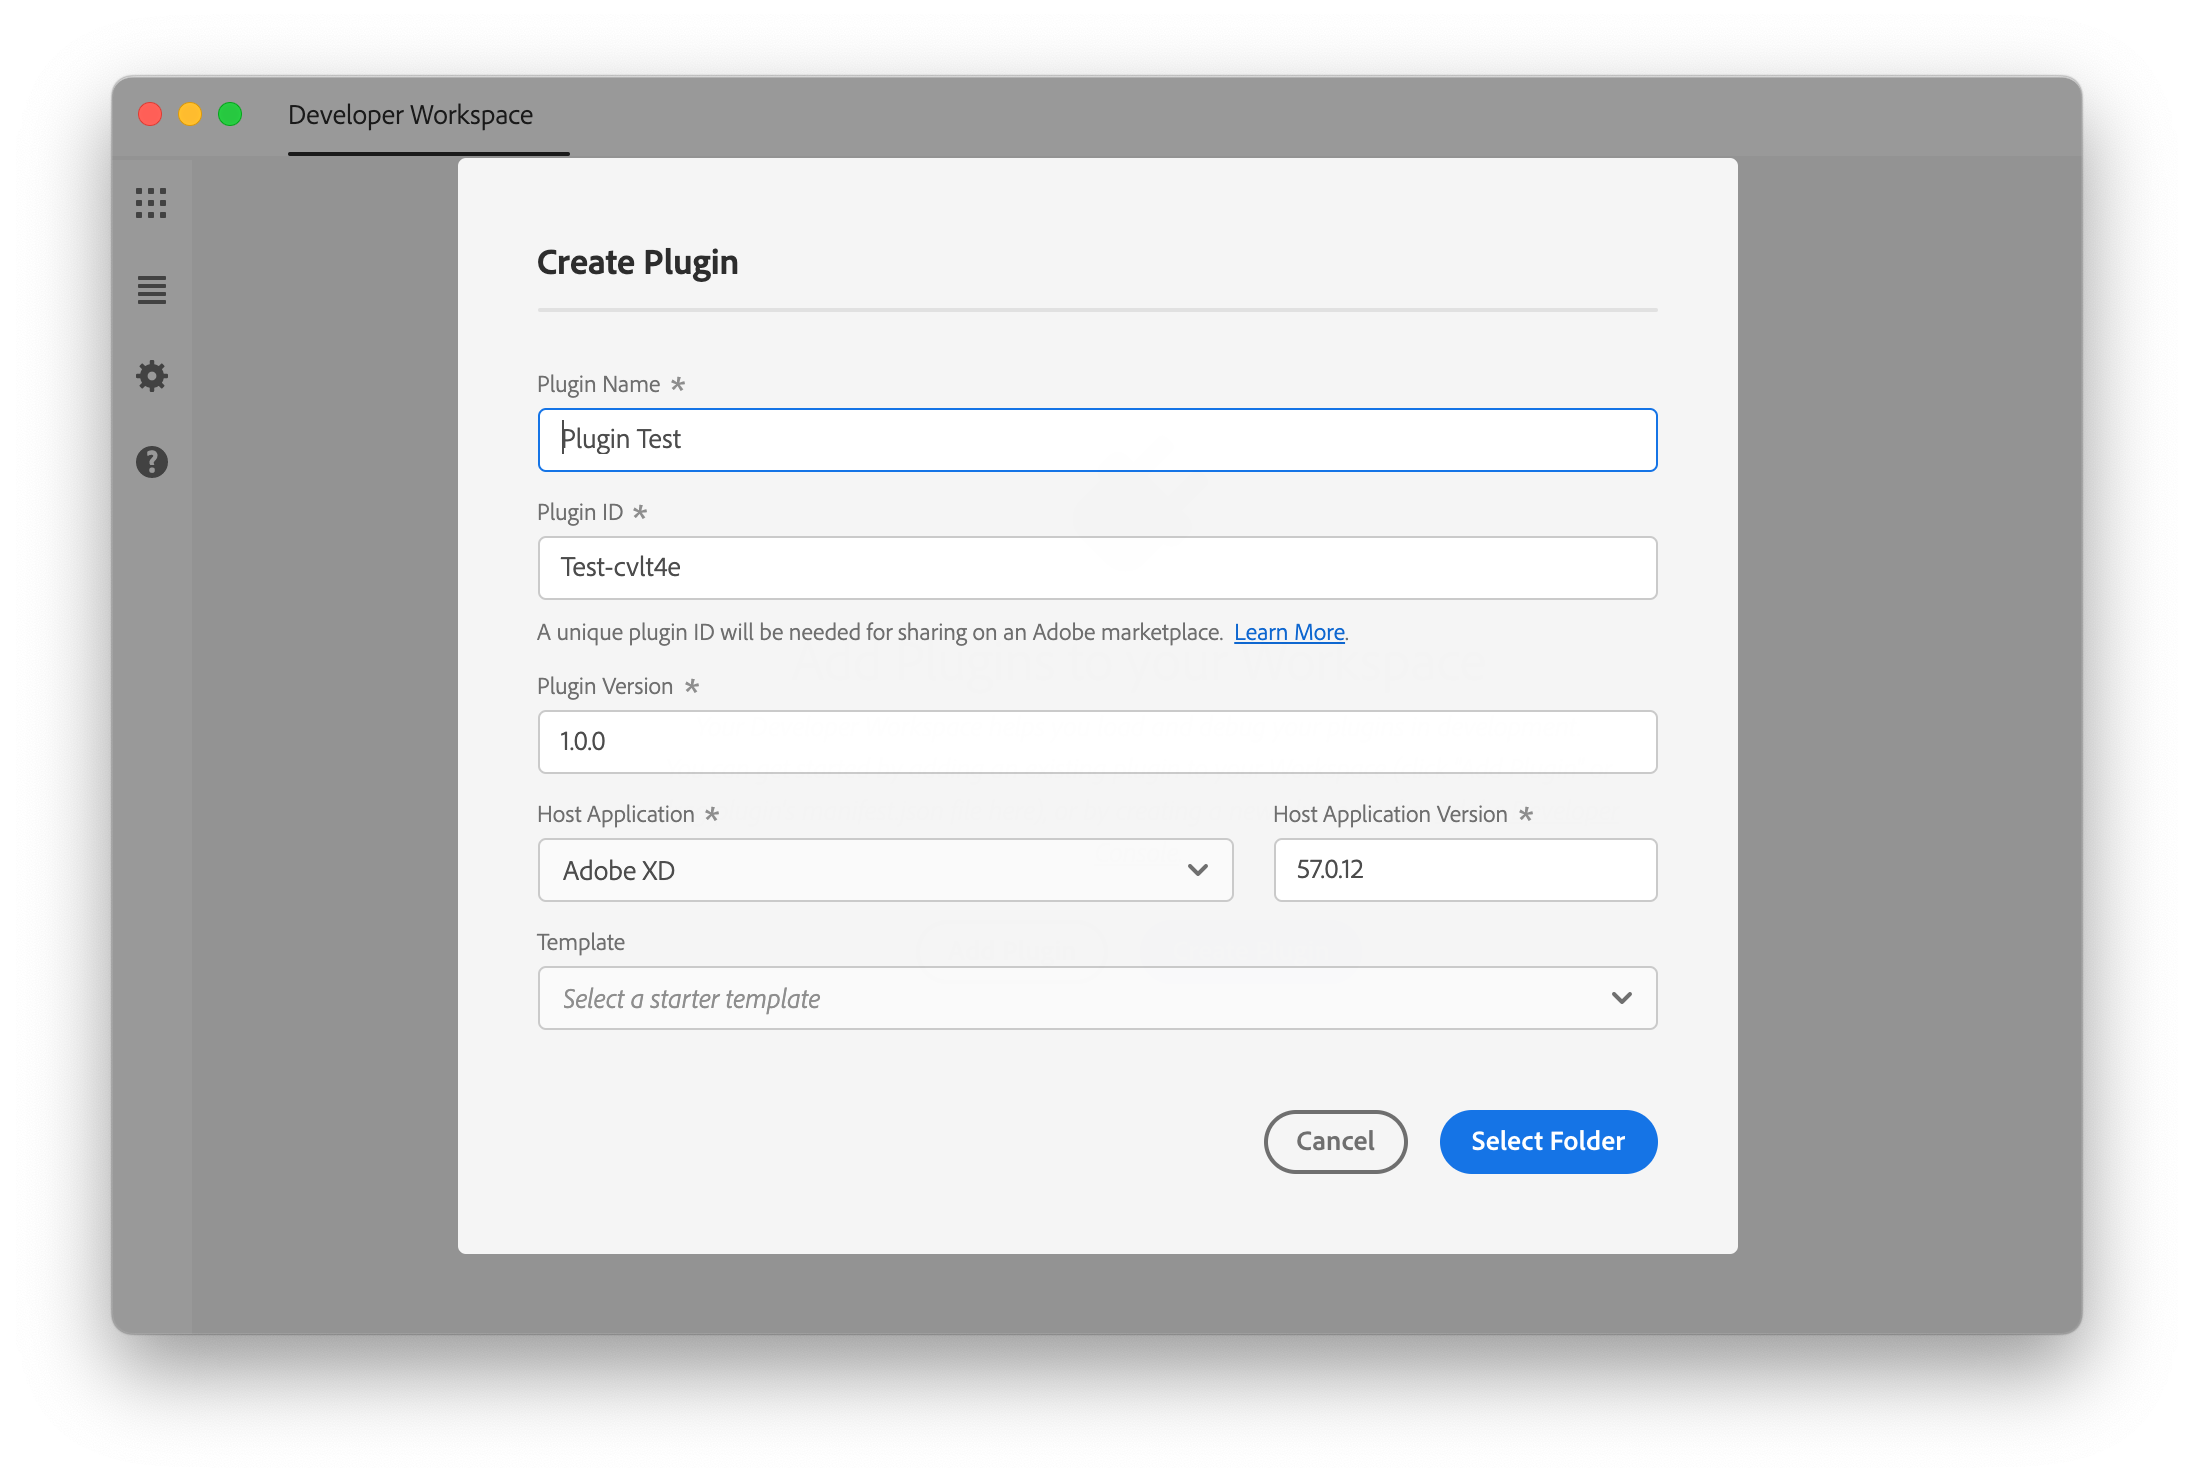
To create your plugin UI visually using Adobe XD and Web Export follow the following steps. 

  • Install Web Export version 8 or greater
  • Create a new plugin in UDT


  • Open VSCode and create “setup.js”


  • In that file add the following javascript (shown as text below)
  • In the plugin open the manifest and use the manifest code below to point to version 5 manifest and setup code
  • Unload and reload the plugin in UDT (the plugin should show some new options in XD plugins panel)
  • In UDT set the plugin to watch to automatically
  • Create a new XD project in the plugin directory
  • In XD create two artboards

  • Open Web Export element options panel and name the first artboard “mainPanel”
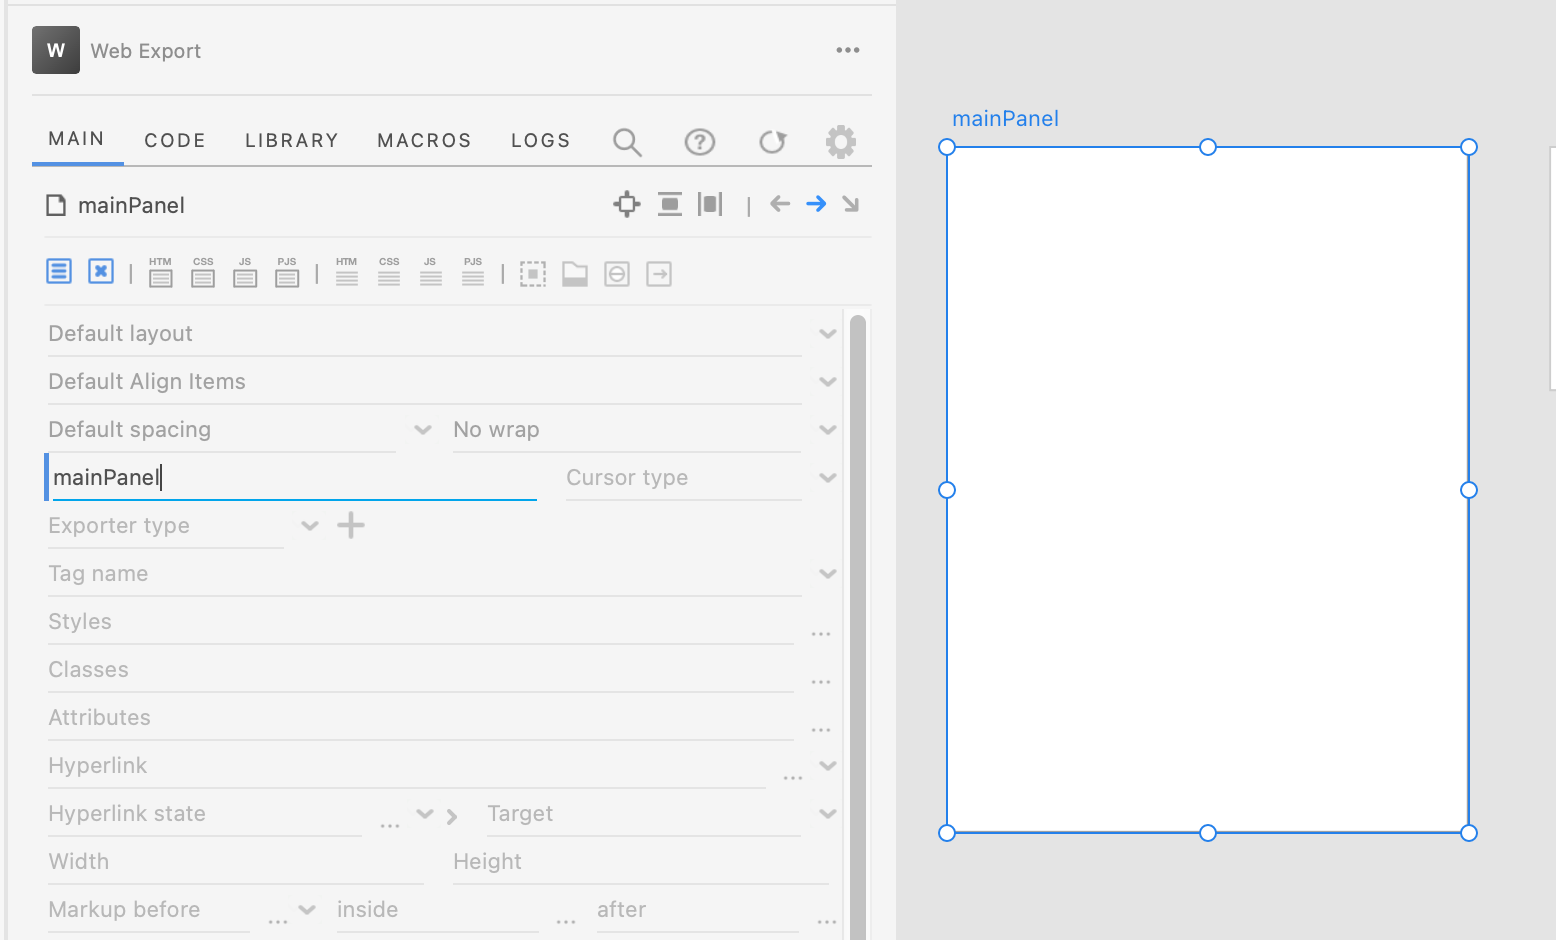
  • In the first artboard HTML template add a reference to the setup javascript file

  • In the second artboard name that “dialog” and set the tag name to “dialog”

  • In the styles field enter “position: relative”
  • Add some content to both to show that they are the panel and a dialog, “My Panel” and “My dialog”
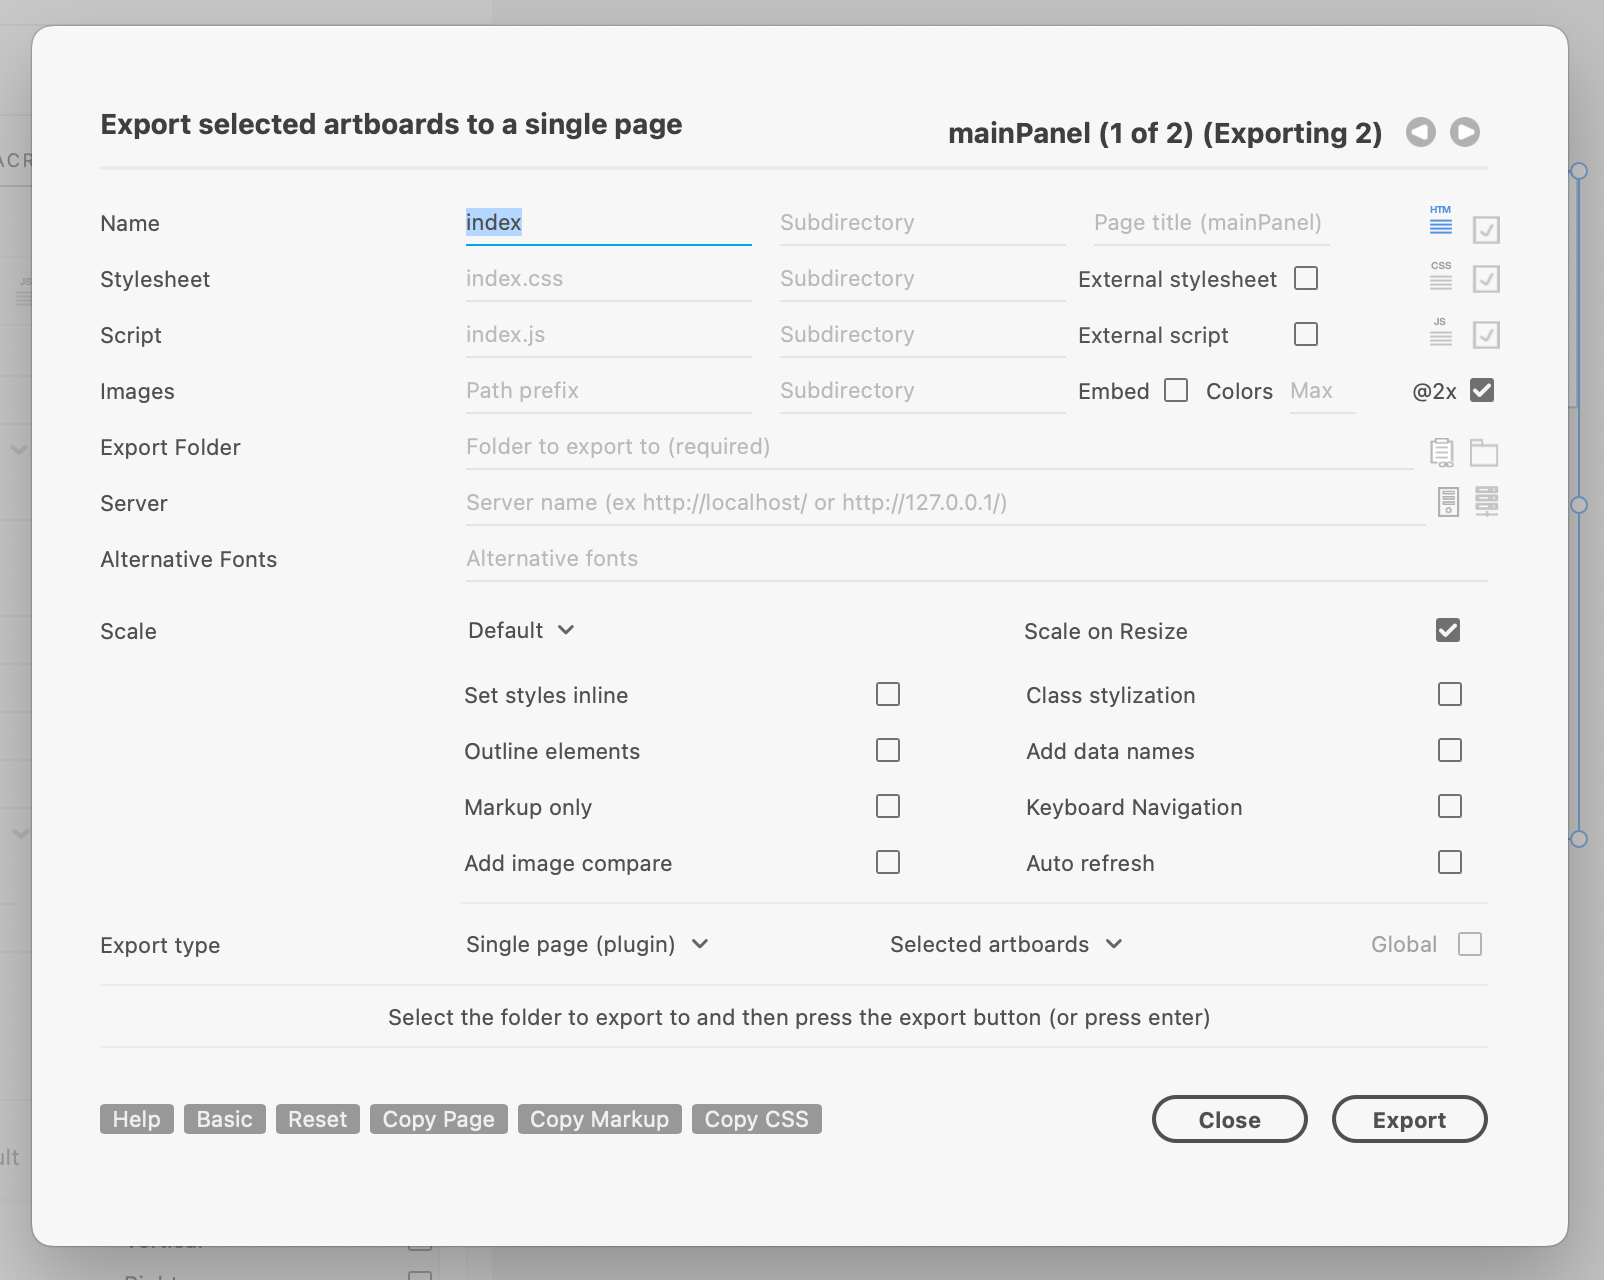
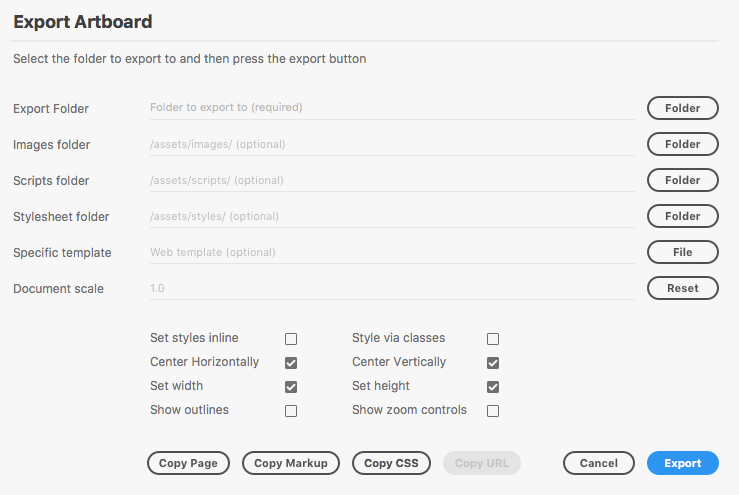
  • Select both artboards and open the Web Export export dialog (select dialog first and then main panel second)
  • Make sure mainPanel artboard is shown in the dialog (select it last)
  • Name the page “index”
  • In the dialog select “Single Page (plugin)” export option
  • Select “Selected Artboards”
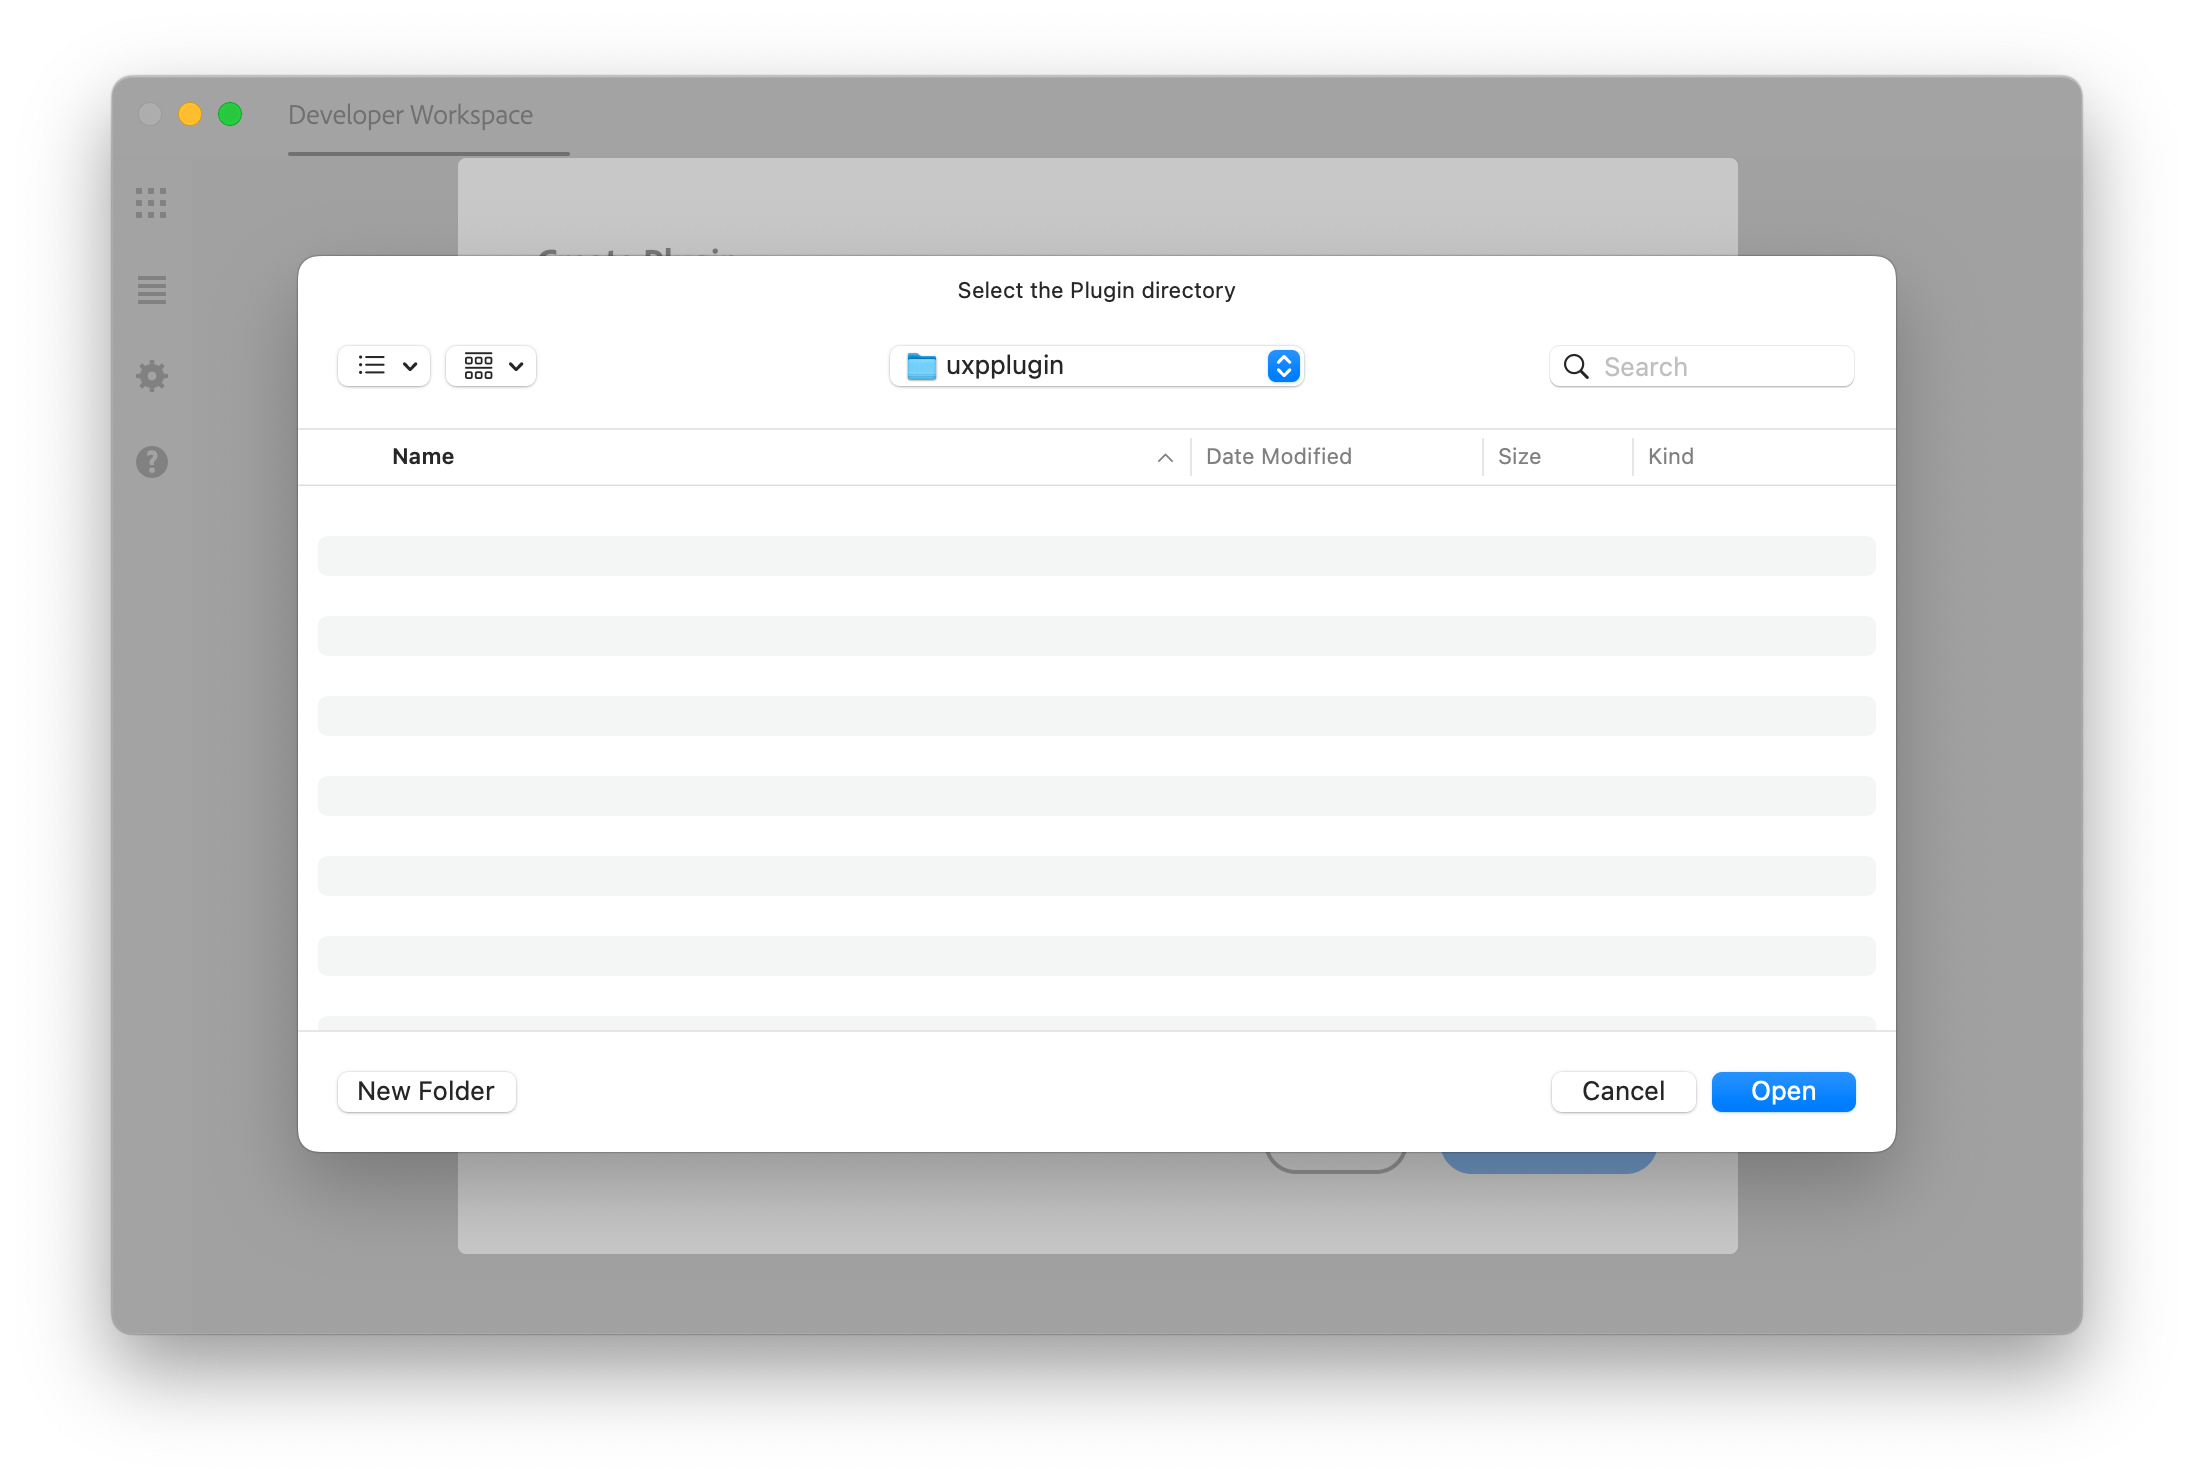
  • Click the export folder icon and select the UXP plugin project folder


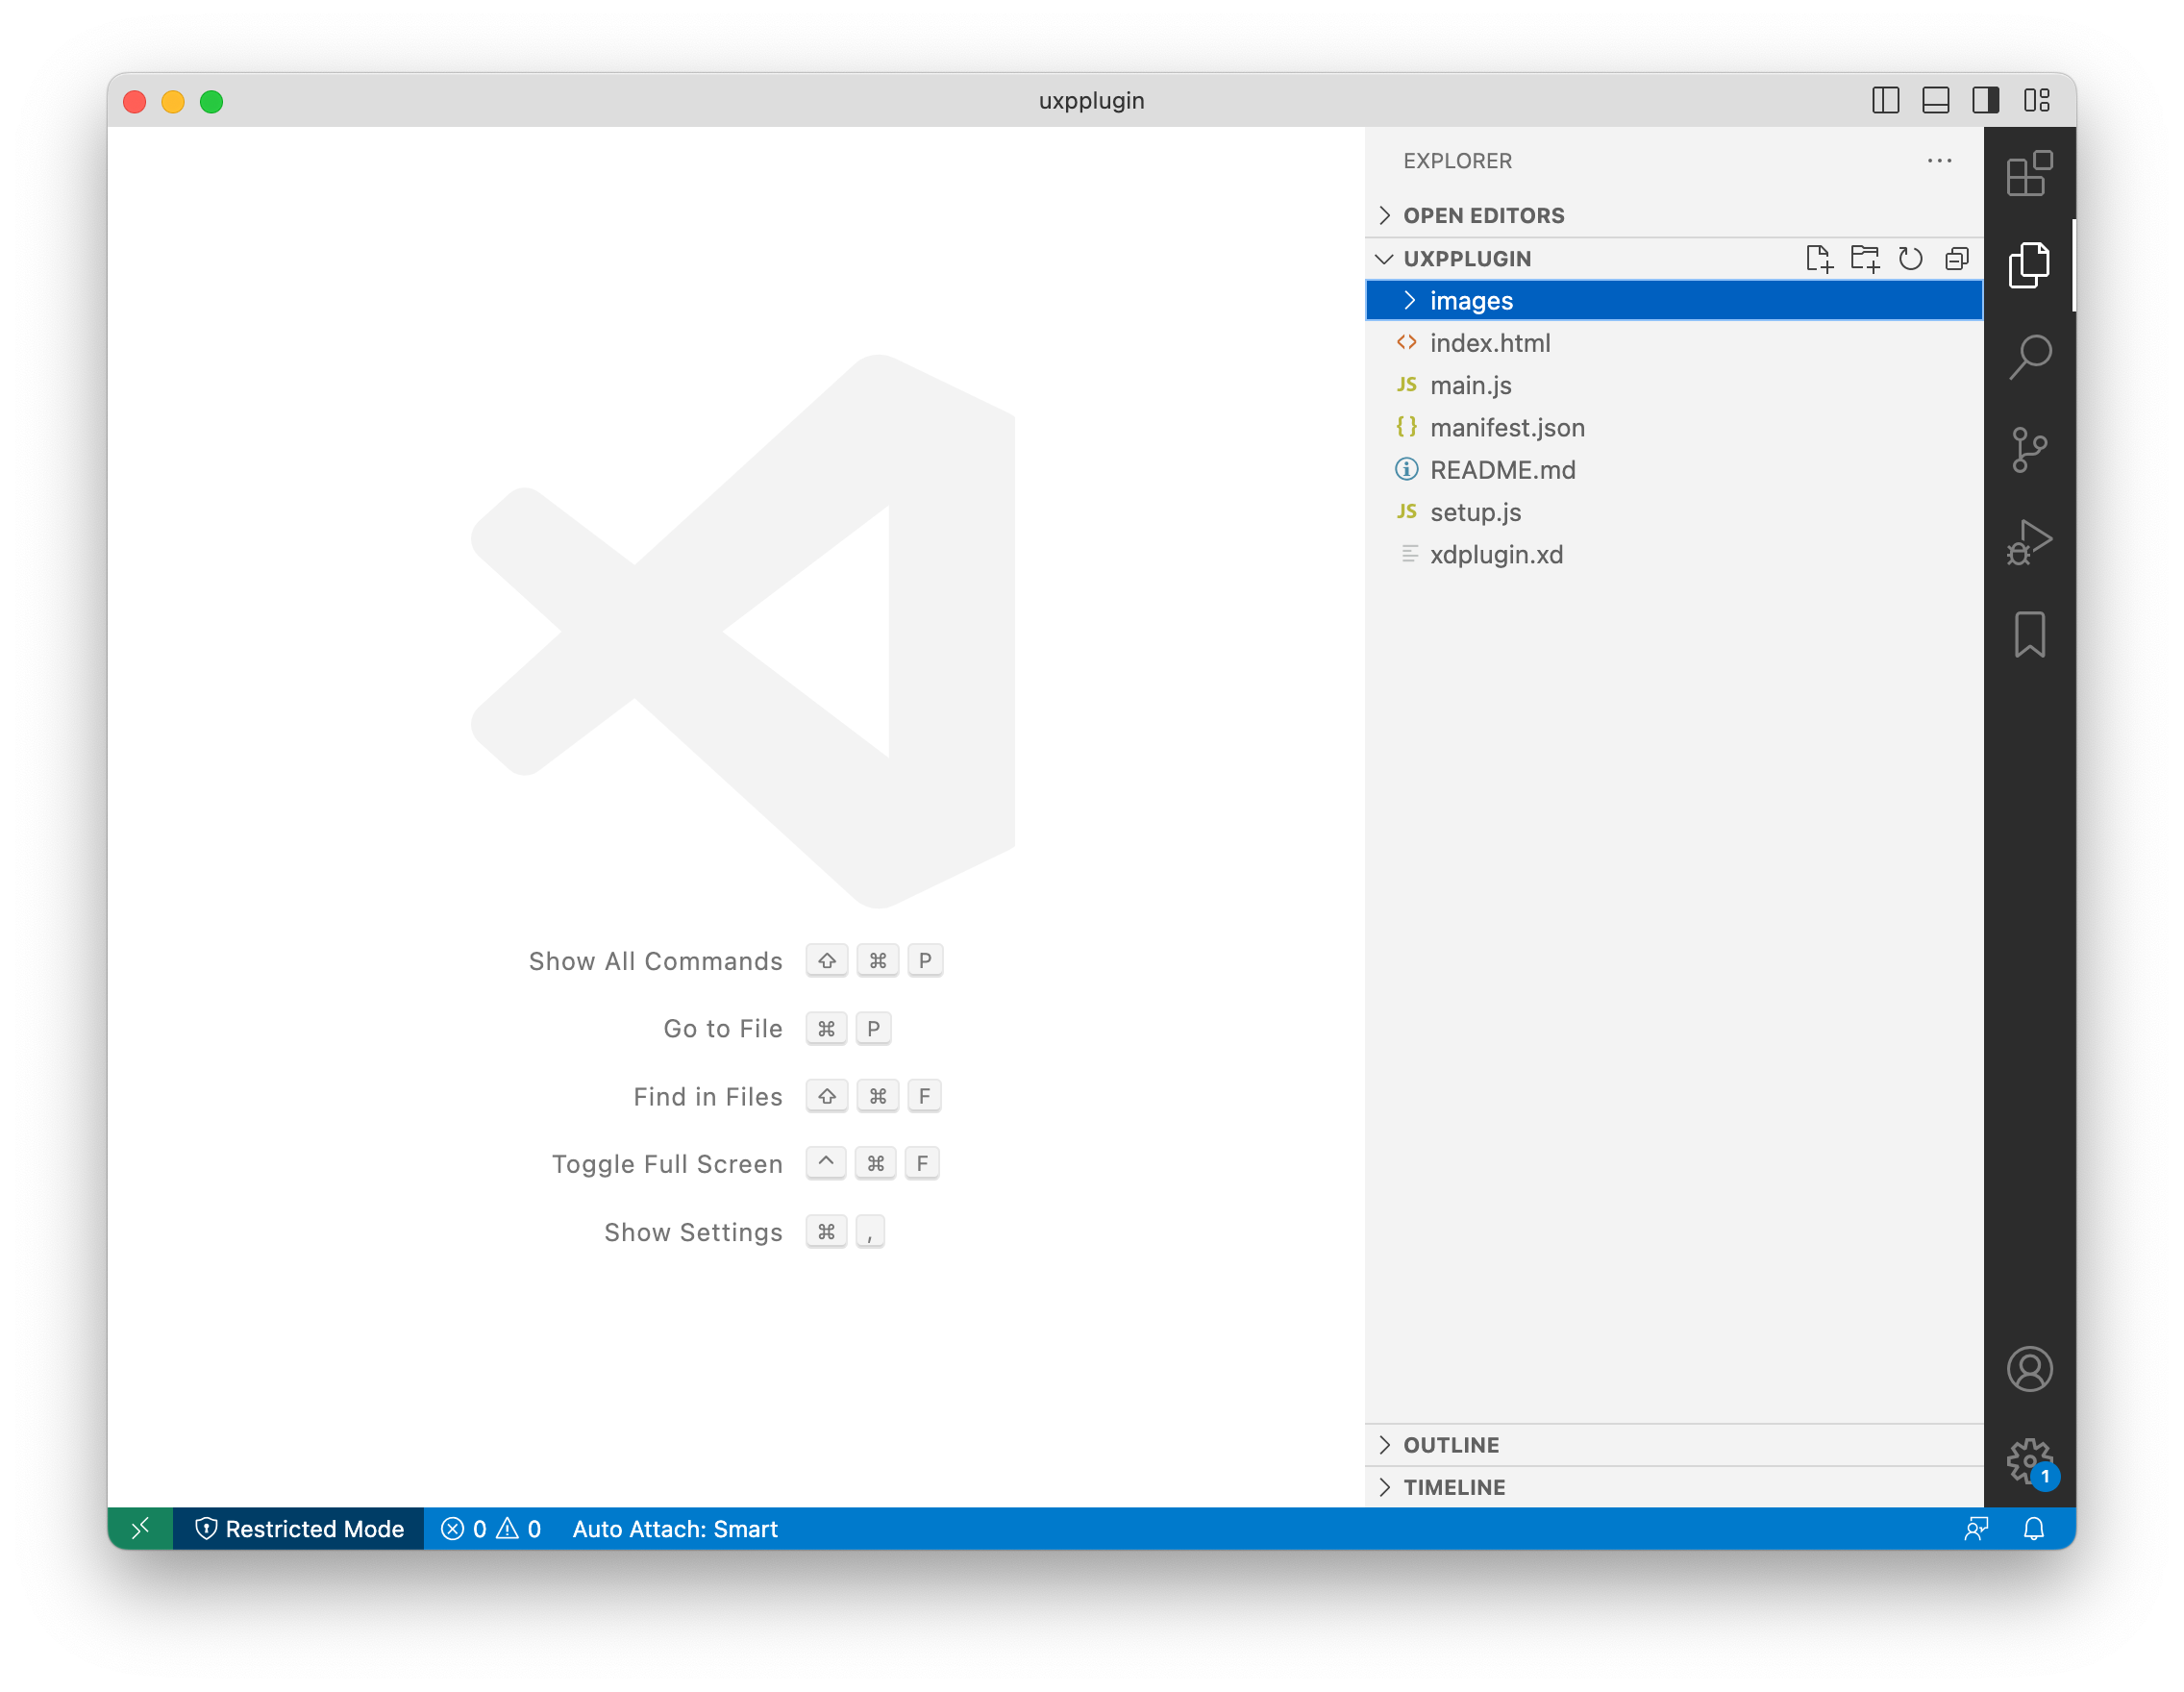
  • Click Export and make sure there are no errors. An index.html file should have been exported> Check in vscode
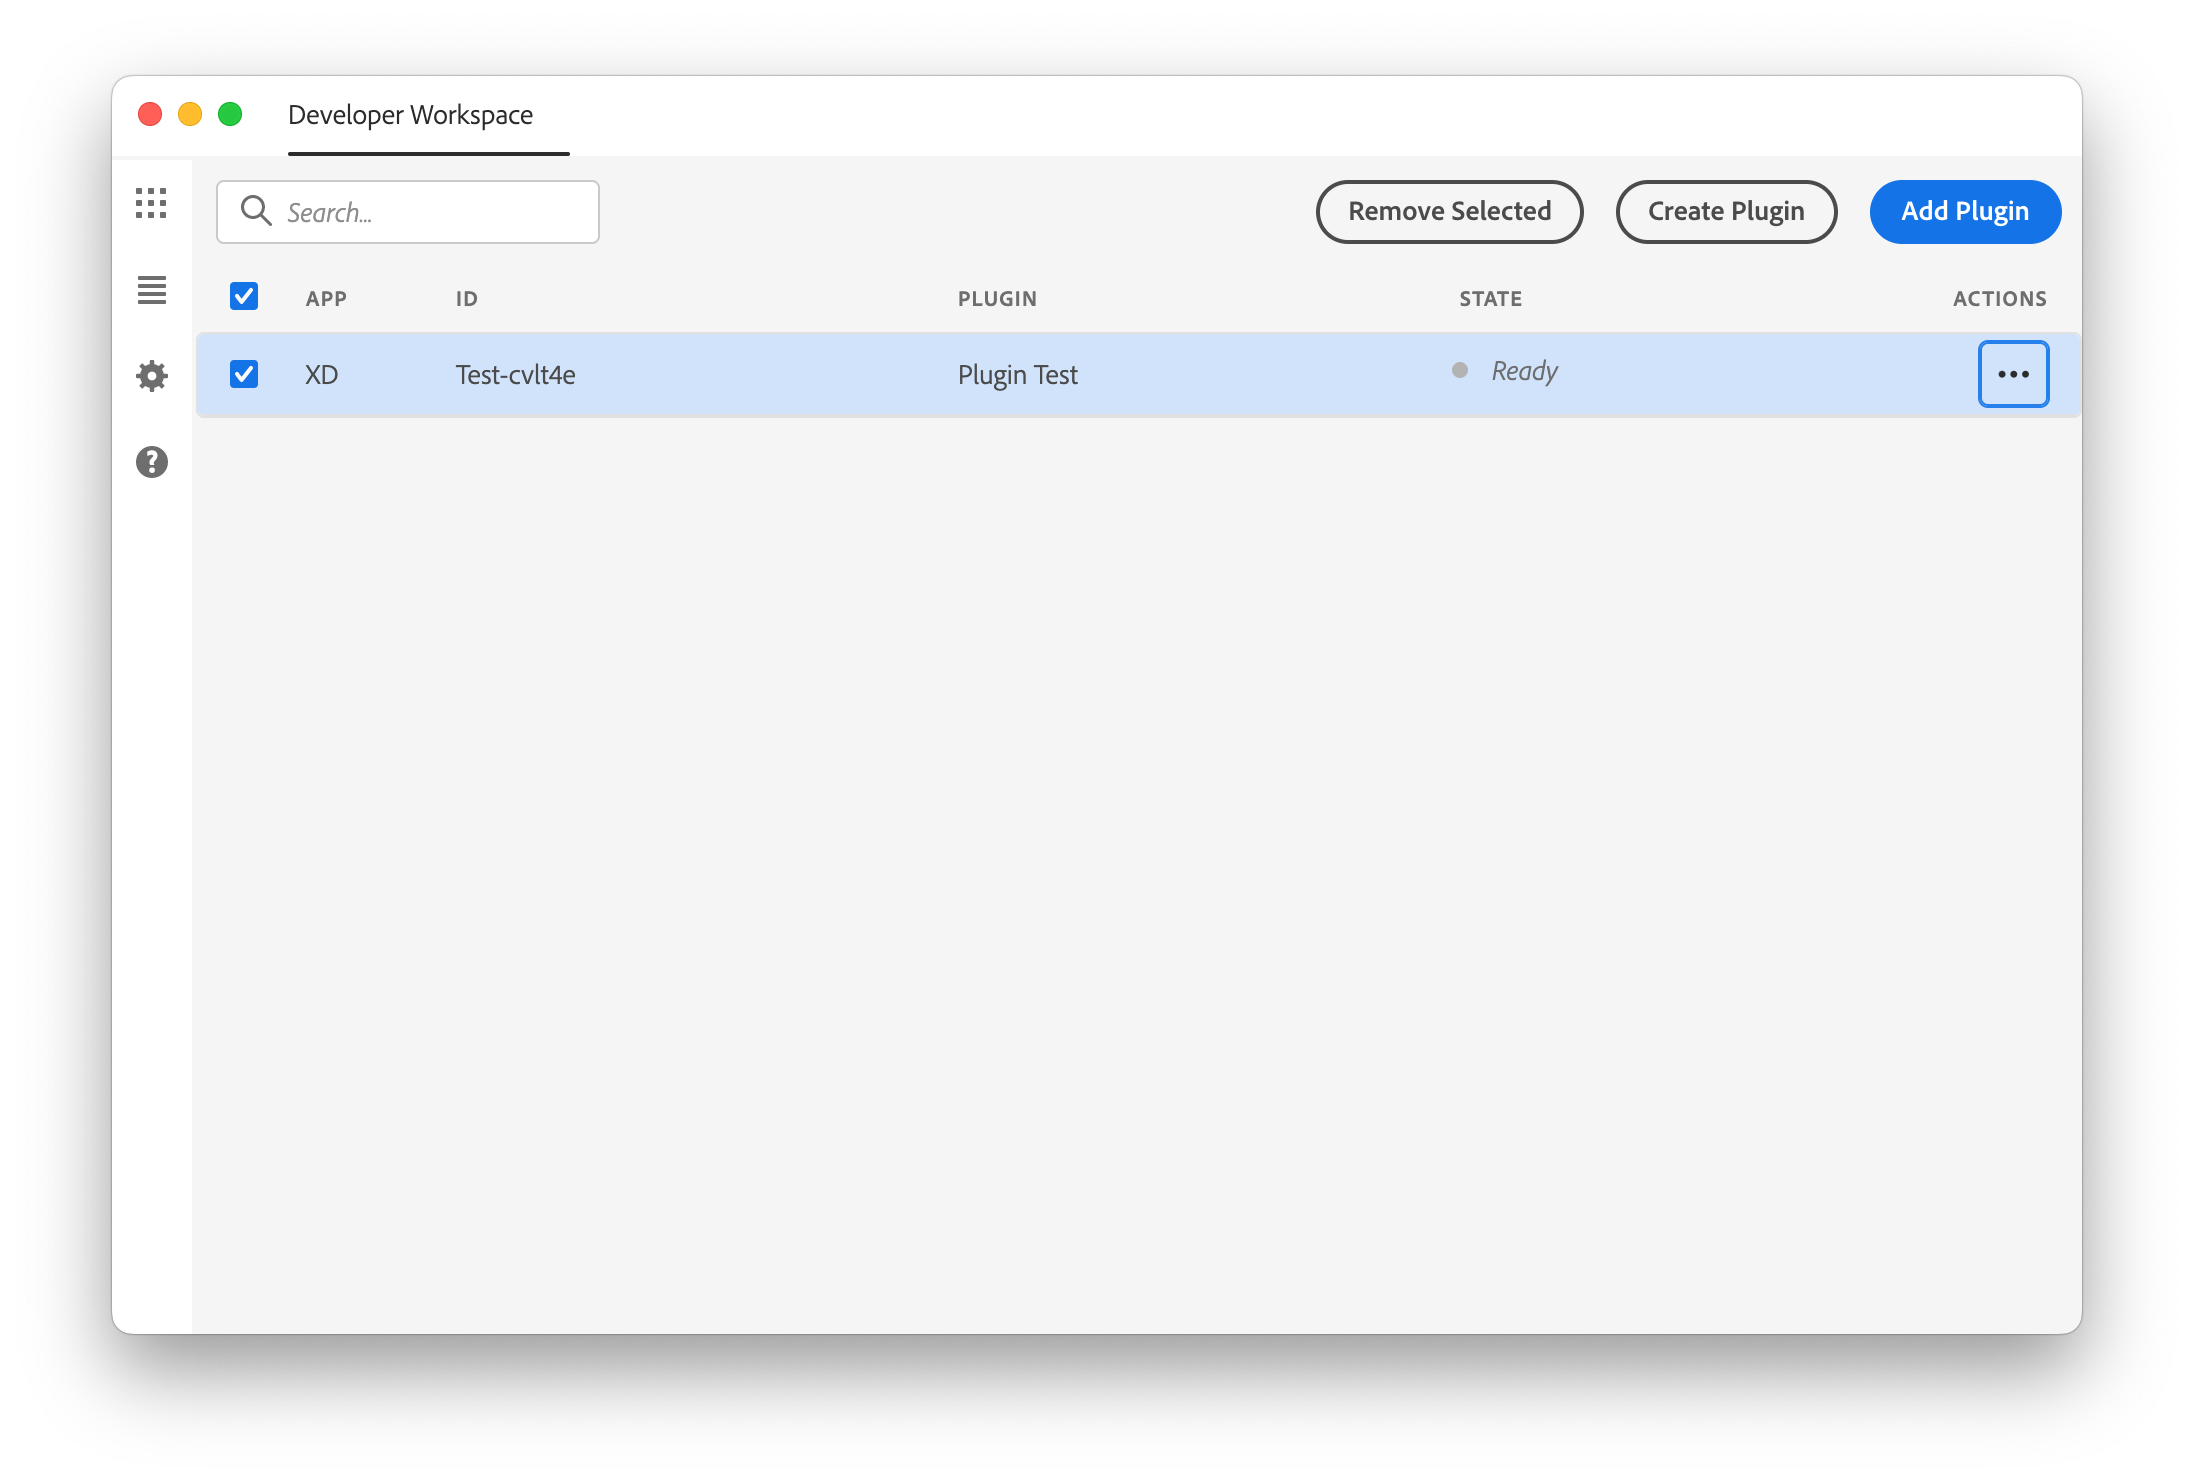
  • In XD return to the plugins list

  • Expand plugin test and make sure the menu options have changed
  • Click the Show Panel option. The panel should now be shown reflecting the artboard design. Expand the panel if necessary
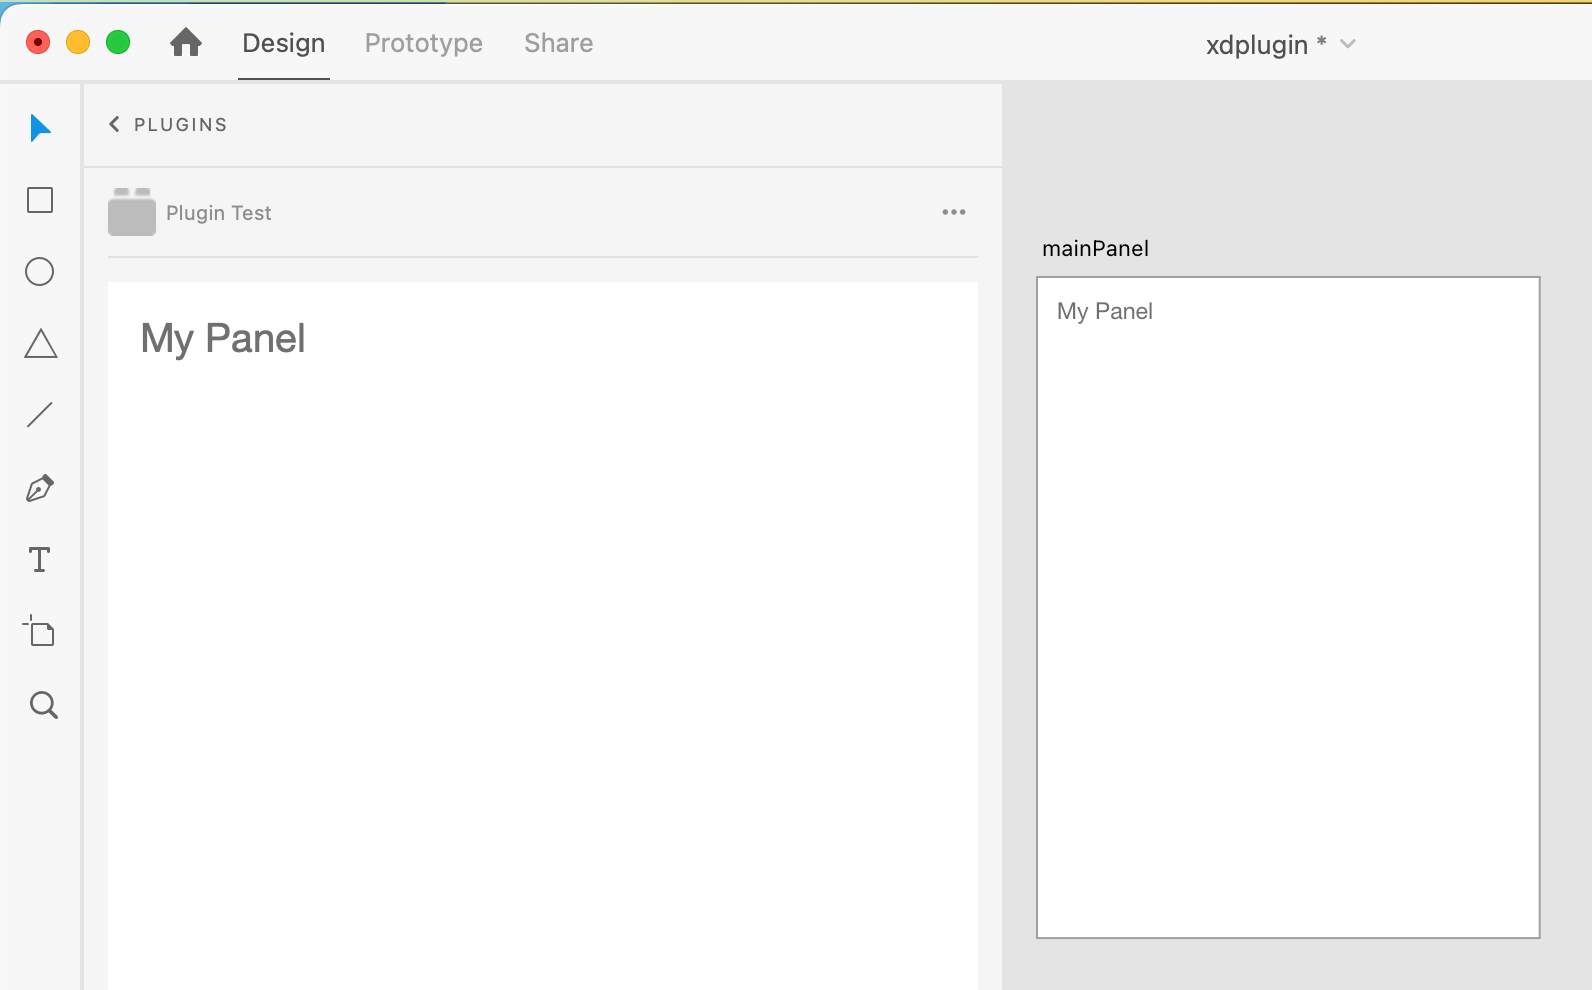
  • Make changes to the artboard content and then press “CTRL + SHIFT + F” to quick export. The changes should be updated automatically in the panel
  • Use background: transparent in the styles field to remove the white background of the panel. Quick export

  • Make a button graphic and set the id to “openDialogButton”
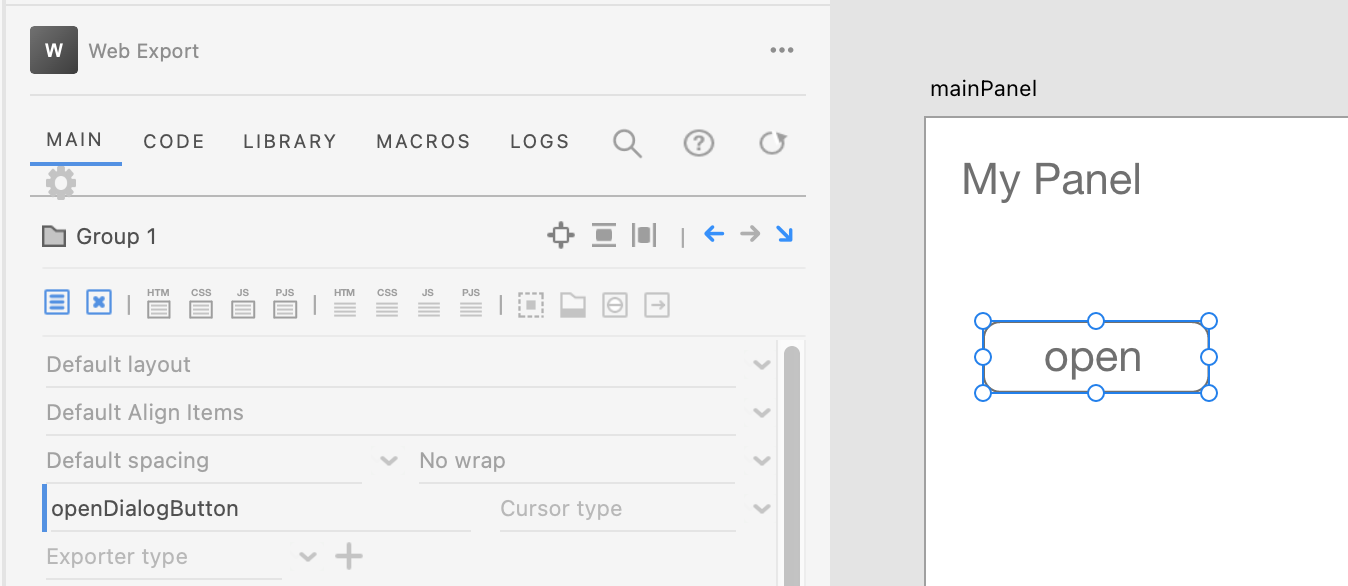
  • Return to the test plugin panel and click on your open button. Clicking on this button will show your dialog. Press escape to hide the dialog

  • Add a close button to the dialog and name it “closeButton” and quick export. 

  • Select the open button. In the tag name field enter “button” or “sp-button”. In the markup inside field enter “open”. Quick export and view the test panel


  • In the style field enter “height: 28px” and quick export
  • If the quick export dialog appears on each export and you’d like to turn it off go to the Web Export global settings and switch the “Show dialog on export shortcut” to off
  • To make the panel responsive select the main artboard and set the width to 100%. Anchor the button to the right side. Quick export and review the panel by resizing
  • You can set a minimum width if desired by adding min-width: 320px to the styles field
  • To anchor an element to an edge use the anchor properties. Select the open button and click the Right anchor


manifest.json: 

  "manifestVersion": 5,
  "main": "index.html",
  "entrypoints": [
      {
          "type": "command",
          "id": "openDialog",
          "label": {
            "default": "Show A Dialog"
          }
      },
      {
          "type": "panel",
          "id": "mainPanel",
          "label": {
              "default": "Show Panel"
          }
      }
  ],

code.js:

//////////////////////////////////////////
// MAIN PANEL
//////////////////////////////////////////

const { entrypoints } = require("uxp");
console.log("start")

function startup() {
    var openDialogButton = document.getElementById("openDialogButton");
    var closeButton = document.getElementById("closeButton");

    openDialogButton.addEventListener("click", openDialogHandler);
    closeButton.addEventListener("click", closeDialogHandler);
}

function openDialogHandler() {
    console.log("open dialog");
    openDialog();
}

//////////////////////////////////////////
// DIALOG
//////////////////////////////////////////

async function closeDialogHandler() {
    await closeDialog();
}

async function openDialog() {
    console.log("open dialog");
    const dialogName = "dialog";
    var dialog = document.getElementById(dialogName);
    var message = "An dialog element must exist with name " + dialogName;

    if (dialog==null) {
        console.log(message);
        throw new Error(message);
    }

    if (dialog.open) {
        //await dialog.close();
    }
    else {
        await dialog.showModal();
    }
}

async function closeDialog() {
    console.log("close dialog");
    var dialog = document.getElementById("dialog");

    if (dialog.open) {
        await dialog.close();
    }
}

//////////////////////////////////////////
// SETUP
//////////////////////////////////////////

var panelFunctions = {
    async create(event) {
        console.log("create");
        startup()
    },

    async show(event) {
        console.log("Show")
    },

    async update() {
        console.log("Update")
    }
}

function setupPlugin() {
    try {
        if ("require" in window) {
            const { entrypoints } = require("uxp");
            const panelName = "mainPanel";
            var message = "Panel name must be " + panelName;

            if (document.getElementById(panelName)==null) {
                console.log(message);
                throw new Error(message);
            }
            var openDialogName = "openDialog";
            var dialogFunction = window[openDialogName];

            if (dialogFunction==null) {
                message = "There must be a function "+openDialogName;
                console.log(message);
                throw new Error(message);
            }
            var setup = {};
            var panels = {};
            panels[panelName] = panelFunctions;
            var commands = {
                openDialog: dialogFunction,
            }
            setup.panels = panels;
            setup.commands = commands;
            entrypoints.setup(setup);

            console.log("after entry.setup()");
        }
    }
    catch(error) {
        console.log(error)
    }

    if ("_pluginInfo" in entrypoints) {
        console.log(entrypoints._pluginInfo.manifest.analytics);
    }
}

setupPlugin();

console.log("end")

With some additional work you can make the UI responsive and add your own form controls.

Web Export Cloud – Public Beta

There is a new Velara 3 Cloud feature that has been in the works for a while that is now in public beta that you can test. The cloud feature allows you to post your exports online in the Velara 3 cloud. This makes it much easier to test and validate your page across multiple browsers.

image

The instructions are here in the forums and written in the Upload project here.

image

It takes a few minutes to setup and once you are logged in uploads can happen at each export or automatically!

Test and review your pages in multiple browsers using this simple setup option.

Notes: Accounts are limited to total of 10MB-100MB.

In the future those who purchase a license or subscription will be given more space.

For more information visit the forums here.

Web Export 6 for Adobe XD

It has been two years now since Web Export was released and it is now at version 6.1.0! With Web Export you can author and export web pages, web sites, slideshows and more from Adobe XD. 

Here’s some of what’s new since last year: 

  • Multiple selection support to update properties
  • Added Stack support using relative normal flow positioning
  • Added Styles field to an element to add or replace styles
  • Added Javascript field to add JavaScript to an element
  • Added HTML template for an element to use your own HTML
  • Show exported HTML markup, Javascript and CSS in XD
  • Added support for pop ups and hover menus
  • Added quick preset layout options
  • Added navigation buttons to select elements from panel
  • Added embed images support
  • Add support for multiple views with multiple sizes in single page
  • Added export as string
  • Added support to export to sub folders
  • Show the properties that have changed from default
  • Spectrum Components support
  • New Documentation and updated
  • Web Export example projects has grown to 60 examples!

Multiple Selection Support
This means you can select multiple items in your artboard and then change properties in the element panel and the values will be applied to all selected items.

The properties you can change are tag names, styles, and classes.

Show changed properties
Using the Show Properties button you can see the properties that have changed on the selected element. If you are learning about a project it is helpful to see what properties have changed. Click the Show Properties (or Shift+click the Reset Properties button.

Stack Layout Support
XD has added a “Stack” type of layout. This positions items inside of a group horizontally or vertically and allows you to set the gap between items all together or independently.

This is now an export layout type you can select in Group options. It is not selected by default even if the group has this feature enabled. By default items in a group are positioned absolutely.

See the row-layout and column-layout examples for more.

HTML, Javascript and CSS template fields

The new HTML markup template field replaces all default HTML for the selected element. It supports tokens so you can get the element properties and insert them into the value. This is useful if you’d like to create custom HTML components but don’t want to use markup inside.

The new Styles template field allows you to add your own style declarations to each element. It supports tokens so you can get the element properties and insert them into the value. You can even prevent all default styles from being exported using a special token.

The new Javascript template field allows you to add your own JavaScript to each element. It supports tokens so you can get the element properties and insert them into the value. Same video as above.

Spectrum Components examples
There is a new introductory example showing how to use Spectrum Components in your artboard. There are a few components so far and more support is planned.

Spectrum Documentation
https://opensource.adobe.com/spectrum-web-components/

Markup, Javascript and CSS preview in XD

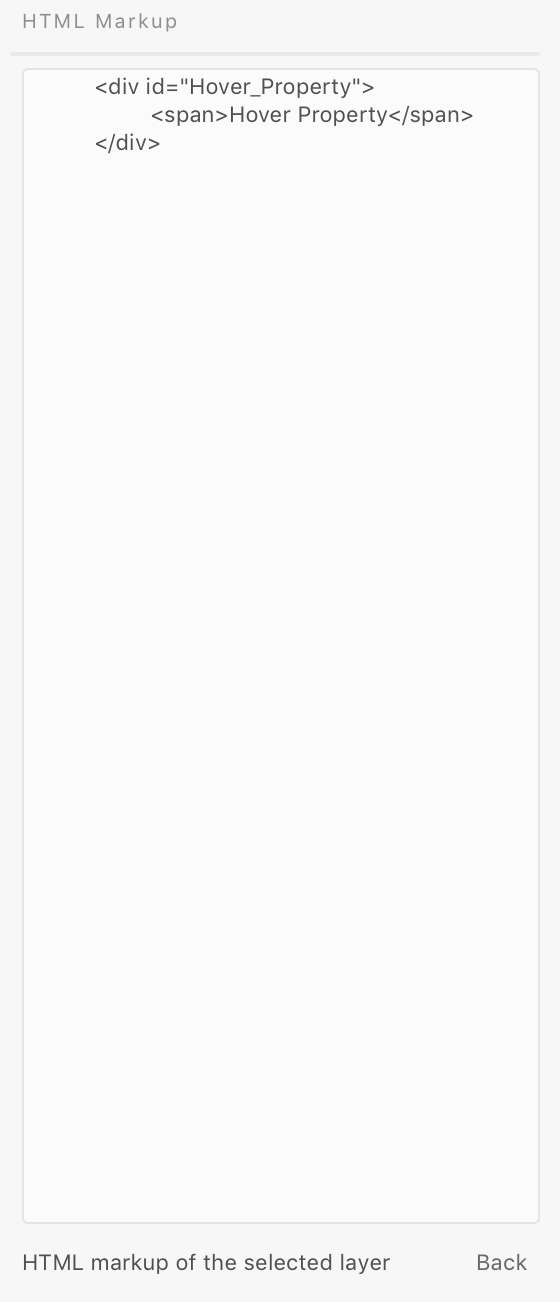
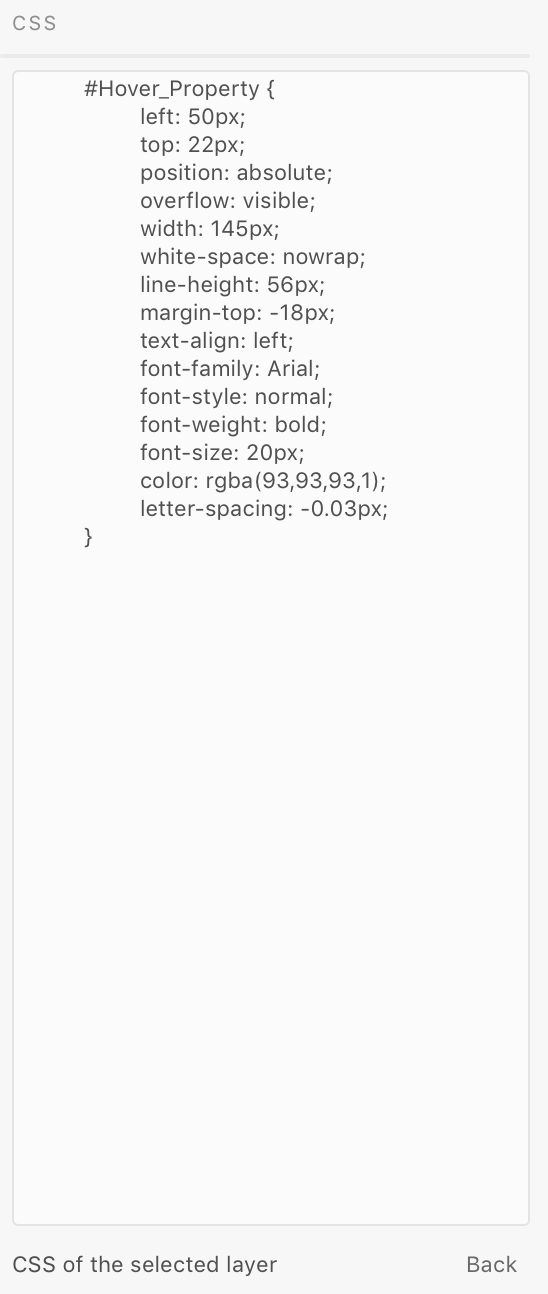
Did you know you can see what the exported HTML and CSS looks like right from within Adobe XD? Open the Element Options panel, select an element and click on the Show Markup or Show CSS button.

Embed Images
You can now embed images inline using a data URI base64 encoding. That means the image is encoded into the HTML markup. There is no external image created. This option is in the element options and can be set on the entire artboard. The artboard option overrules any specific image options at this time.

It also comes with a color limit option that limits the number of colors in the image. This reduces the size of the embedded images. Check the export messages for the embedded images sizes or check the HTML page size.

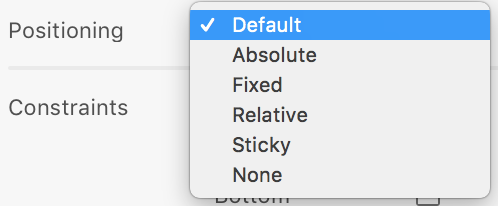
Quick layout options of Position, Position By and Sizing Options
Choose common layout positions, layout methods and sizing options in the Element Panel.

image
image
image
image

Navigation buttons to select next, previous or descendant items
You can select another element on the artboard using navigation buttons.

image

Show Markup and Show CSS button in Element Panel
Show the exported markup of the selected element without exporting

image
image
image

Added initial support for hover effects (select two elements)
Hover effects will show you the difference between two objects when mouse is hovering over an element. Select two objects, preferably of the same type and in the Hover Options list select the second element. Exclude the hover element when exporting.

image

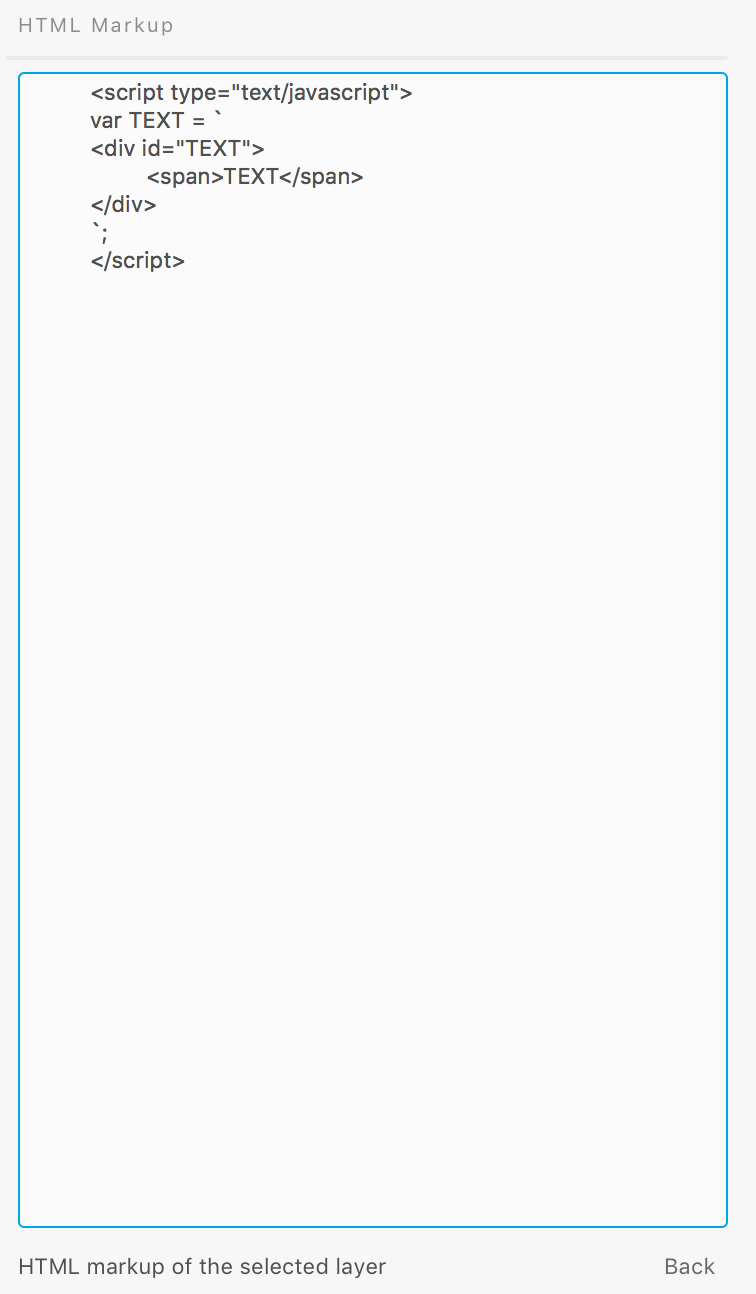
Export as string option
Select this option to have the element markup exported as a JavaScript variable value:

image
image

Set destination of export to sub folders
Define subfolders in the export folder location.
image

Documentation guide
The documentation support site has grown and been improved.

https://velara-3.gitbook.io/web-export/

Multiple views with multiple sizes in a single page
In my opinion this is one of the most game changing features yet to be understood and utilized. Previously you can export multiple sizes of a page using Single Page Application media query export option. With that open the page that fits closest to the browser size is shown (think of one HTML page with small, medium and large artboards). Now you can do that with multiple pages with multiple sizes in the same page (home page small, medium and large, products of small, medium and large, etc).

More video guides
There have been more than 10 new videos since the last update. Here is the web playlist.

For comments visit the discussions forum here.

Web Export 3.5.0 for Adobe XD and more

It has been one year since Web Export was released and it is now at version 3.5.0. With Web Export you can author and export web pages, web sites, slideshows and more from Adobe XD. It is really at version 1.0.0 in the big picture.

There have been exciting new features, new and smoother workflows and new documentation and videos and a new website and new forums. In the latest version you start out with a basic export screen and you can switch to an advanced screen.

Along with the Web Export plugin came the Alignment plugin and the Statistics plugin.

The Alignment plugin does just what it says. It supports aligning items to their container, stretching items to fit, aligning to margins, aligning to center and more.

Check out the Web Export playlist and start taking your designs online.

Check out the new documentation here.

And for this week only use the code MAX-SPECIAL to get 30% off all Velara 3 software at the store here.

Velara 3 Launches Web Export plugin for Adobe XD CC

October 15, 2018 – Velara 3 today introduced the Web Export plugin for Adobe XD CC. Web Export features exporting HTML and CSS with just a few clicks. The Web Export plugin also offers a wide selection of features including constraining elements to left, right, top, bottom, horizontal center and vertical center positions. In addition you can add markup before, markup after, and add additional styles, classes, and attributes supporting popular web frameworks.

“We are thrilled to offer Web Export in the Adobe XD Plugin Manager. With nested layouts, centering constraints and dynamic CSS, Web Export is a great tool to compliment Adobe XD.”

Just in time for the holiday shopping season, Web Export is available on the Adobe Exchange.

Velara 3 creates tools to a provide a seamless workflow for designers and developers.

Instructions on installing and getting started are here.

What is problems are you trying to solve in graphic design and web development in 2017?

What do you need as a web developer? What do you need as a graphic designer?

When you need to do the following tasks:

  • Port a design to the web
  • Check the design across multiple browsers
  • Check the validation of a web page
  • Create an advanced layout for the web
  • Integrate content from WordPress into a design
  • Integrate and support multiple web frameworks in a graphic design
  • Render and code an HTML page live as you type (showing outlines)
  • Render and code an MXML document live as you type
  • Create new design with text, images, and form items
  • Create a rich email letter (self contained HTML with inline styles)

These are the problems I’m trying to solve with Radiate. Check it out and if it doesn’t solve a problem for you then let me know.

New VeraType 3.3.1 Released

A new release of VeraType is out. New features include:

– Added export to SVG. Can import into Illustrator
– Added export to FXG. Can import into Flex
– Added support for background image in export to SVG, FXG, and HTML
– Improved fidelity of HTML export
– Added SVG copy to clipboard
– Added FXG copy to clipboard
– Fixed numerous bugs

To use:

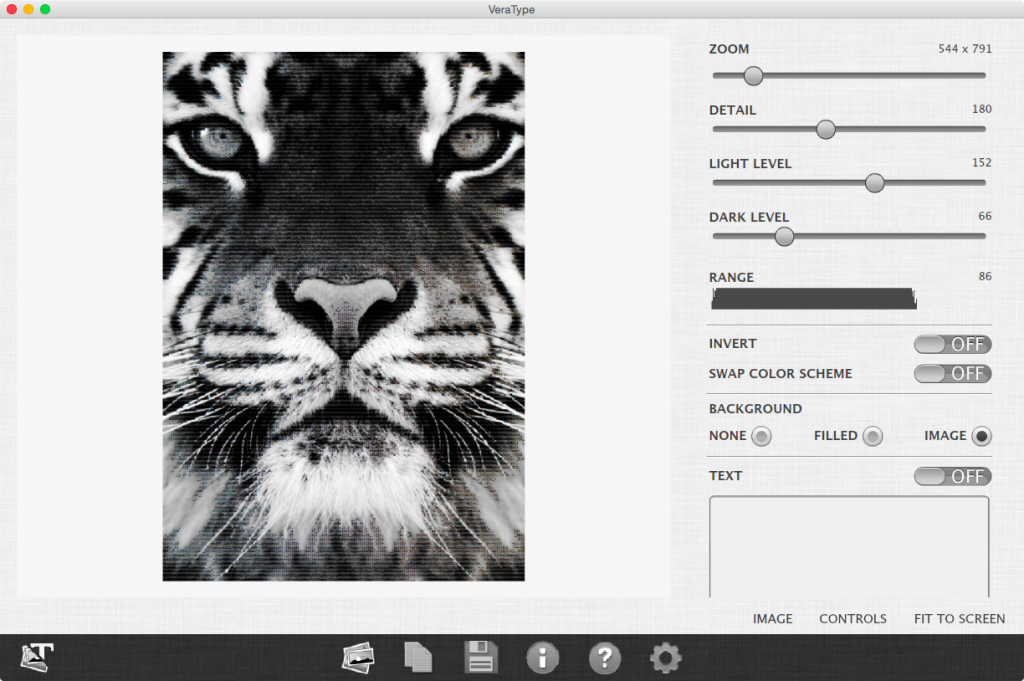
1. In VeraType open an image and make any adjustments:

tiger

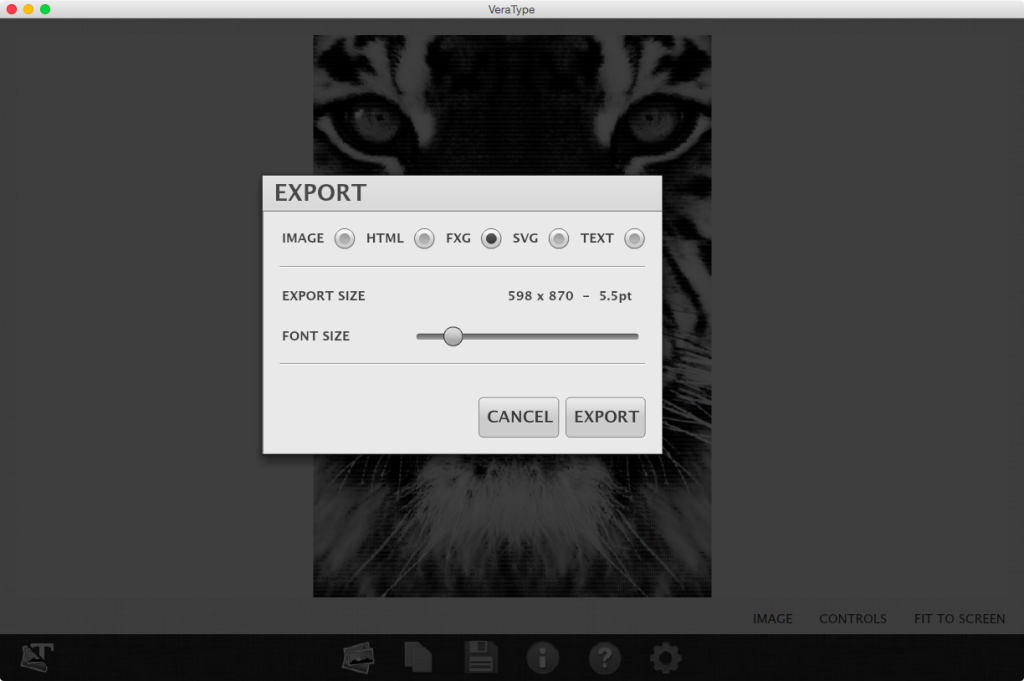
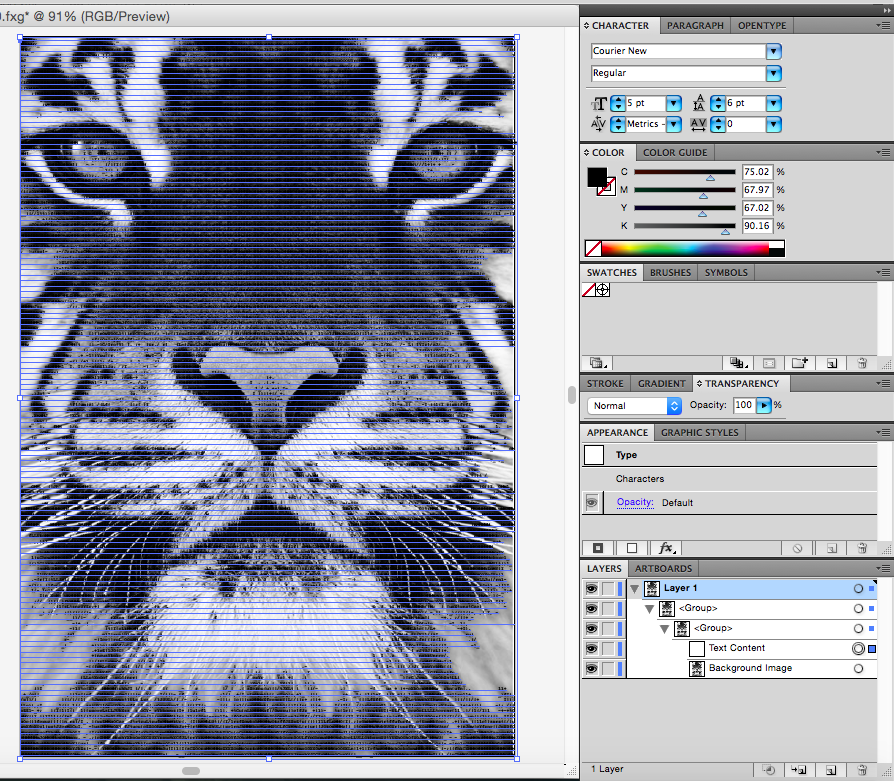
2. Press the save icon and select FXG or SVG:

tigersave

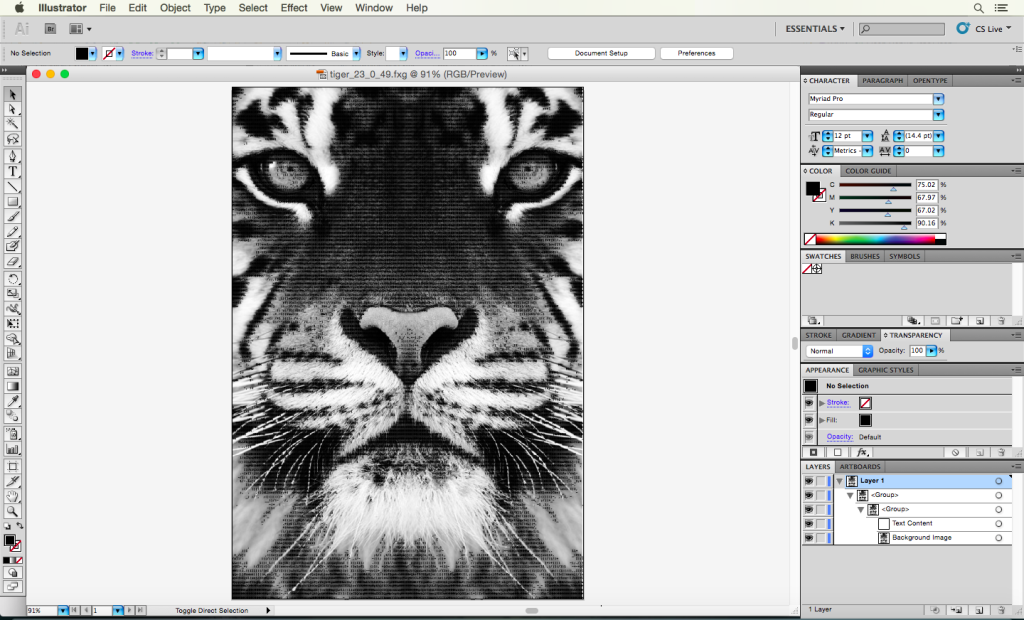
3. Save it to the same directory as the picture you loaded and then open it in Illustrator:

tigerinillustrator

You may get an warning that the original image can’t be found. This means that the background image is in a different directory than the one you exported to.

imagenotfound

If you try to replace it it doesn’t always end up in the correct place. To fix it, copy and paste the background image to the same directory as your exported SVG, FXG or HTML page and then open it again.

You’ll notice that the layers are named and the text is selectable.

textselectable

If you export to FXG multiple lines of text are selectable. If you export to SVG only single lines are selectable. If you export to HTML multiple lines of text are selectable.

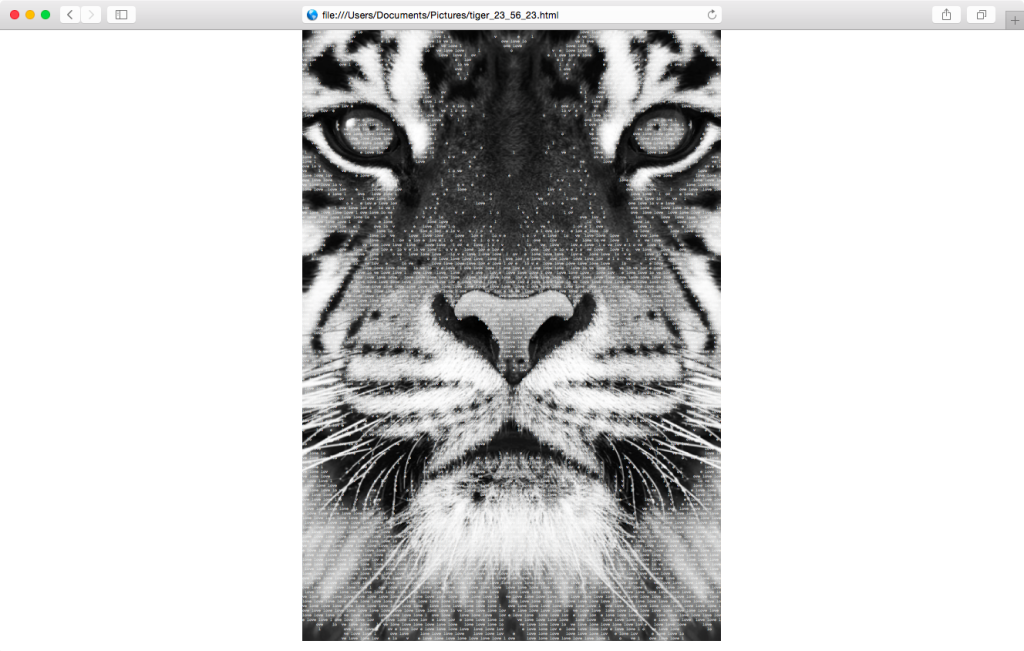
Safari:

webpage

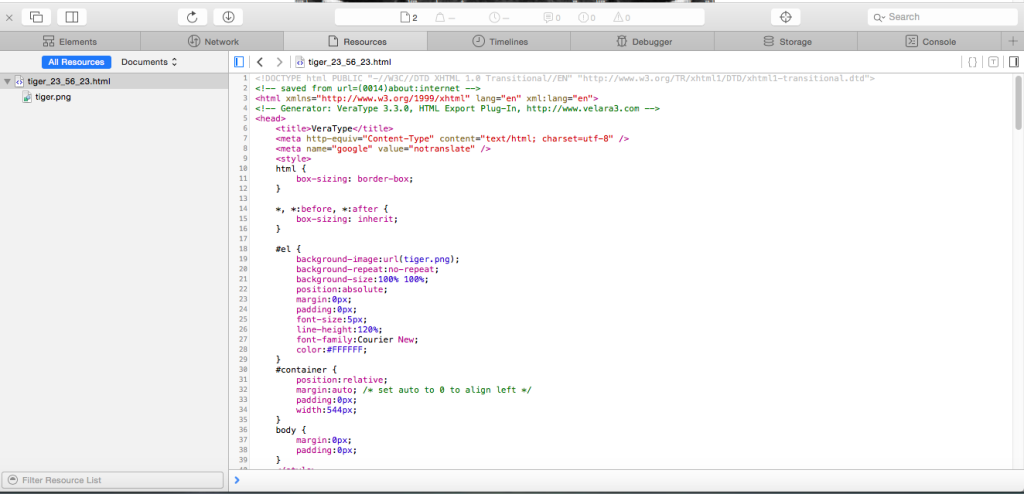
When viewed in the web page the image is centered. You can view the HTML source code. There are instructions in the code in the CSS section to remove centering.

tigersource

You can edit the page with a text editor and save it again. Simply, you change margin “auto” to “0” in the container selector and save and it will be aligned to the left instead of centered.

How to import VeraType artwork into Adobe Illustrator

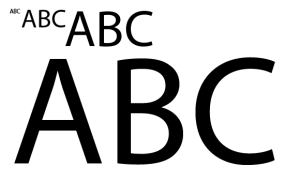
VeraType exports to Image, HTML, and Text formats but what about exporting to Illustrator? Currently it does not but it is fairly easy to manually import your work into Illustrator. How do we do this? We export the text and then paste it into Illustrator. Text fields in Illustrator are vectors and will maintain fidelity as you resize them. You can try this by changing the font size of a text field in Illustrator (try 64pts) and checking the edges of the fonts.

text sized at various font sizes

text sized at various font sizes

To Import into Illustrator open VeraType and follow along.

1. Import your image and make any adjustments.
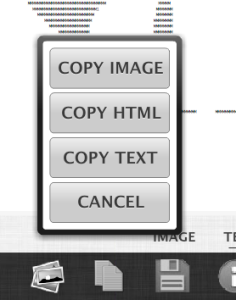
2. When you are ready to import to Illustrator look in the lower dock of the app and find the “Copy and Paste” icon. Click this icon.
3. You’ll see a menu with the option to “Copy Text”.

Screen Shot 2015-07-11 at 10.29.20 PM

4. Select Copy Text. This will copy the text to the clipboard.
5. Switch over to Illustrator and create a new document
6. From the menu bar select Edit > Paste. This will paste the text from the clipboard.
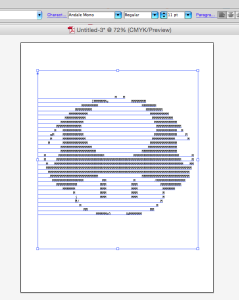
It will probably look compressed and it will probably extend past the edges of the art board:
Screen Shot 2015-07-11 at 10.38.16 PM

7. Make sure it is still selected and in the font drop down select a fixed width font such as “Courier”, “Courier New” or “Monaco”. The text should reformat itself and world will be made right again.

Screen Shot 2015-07-11 at 10.41.18 PM

If not you may need to find another font. A fixed width font is a font where each character is the same width. Most fonts are not. In VeraType the list of fonts on the right side are all fixed width.

BTW You may need to change the font size to fit your document size. Change it to something lower than the current value as low as 4 or 5 points.

If the text is too large even after changing the font size then you may need to change the detail level in VeraType (located just under the Zoom setting). Lower this value down. Secret hint: The zoom setting is really the font size. When you click and drag or when you export you can see the font size.

What about about images? If you have used an image as a background you will need to import it into Illustrator manually. You may then need to stretch the image to fit the width and height of the text.

An easy way to do this is to:

1. Export to an image from VeraType (rather than copy the text) using the exact same settings as when you copied the text. Click the File icon and choose Image then click Export. This will create a PNG file
Screen Shot 2015-07-11 at 11.07.49 PM
2. Import this image into Illustrator. File > Place  and select the image.
3. Set that as a background (move it lowest on the Layers panel and lock it). Then match the image and the text to the background image. This can take time to get right.

You would stretch the image and you would change the font size on the text field. Once they are matched to the background image delete the background image.

4. Next select both the text and the image
Screen Shot 2015-07-11 at 11.17.54 PM

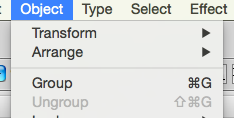
5. Select Object > Group from the menubar.

Screen Shot 2015-07-11 at 11.20.31 PM

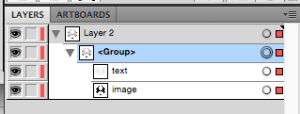
It should now be grouped in the Layers panel:

Screen Shot 2015-07-11 at 11.21.45 PM

Now you can resize that group and maintain the positioning and sizing of the text and image.

Screen Shot 2015-07-11 at 11.25.40 PM

Export to Multiple Sizes for Photoshop

Export to Multiple SizesExport to Multiple Sizes is a script for Photoshop to export your work to multiple sizes. When creating icons for mobile or desktop applications you must export your application icon to over twenty five different sizes. Now you can choose a target platform (or create your own sizes list) and export them all at once!


Export to custom sizesFeatures
* Easy to use
* Export to iOS, Android and AIR or your own custom export group
* Exports desktop, mobile and tablet icon sizes
* Exports app descriptor XML for icons for AIR
* Resizes from highest quality resolution
* Can set custom sizes
* Can set quality, image format, resample method and include the color profile
* Preserves aspect ratio


Price – $4.95 (Requires Photoshop CS5+. Mac and Windows)

tags: Photoshop, Photoshop script, iOS, iPhone, iPad, Android, AIR, mobile, desktop, app, Google Play, App Store, icon, image, bitmap, resize, export, save as, save for web

Password Manager for Mac and Windows

password_manager_icon_128Password Manager allows you to easily create secure passwords. Using anything less than 12 character password is not secure. Short passwords can be hacked within 6-12 hours. Passwords using common words can be hacked even quicker. I wrote this application because creating unique passwords using random letters, numbers and characters of significant length is the most secure way to protect your accounts.

Whenever I create a new account for a web site whether it is a social media site or a bank site I open this app and generate a secure password of at least 16 characters in length. With one click I’ve copied a secure, hidden password to the clipboard where it is ready to use. I don’t have to create one myself every time. I don’t have to remember it because the browser will (Firefox) or I can just request a password reset from the site and create a new secure password.

Features
* Automatically creates 6 secure passwords when opened
* Automatically copies the password you choose to the clipboard. No pressing CTRL + C.
* Automatically obscures the password. Show or hide within the application. Prevent  onlookers. Great for use in a public setting.
* Create your own custom password as required by websites including numbers, letters, mixed case, non letter characters and fixed size
* Change the length of the password up to 1024 characters

Price$4.95 Free (Mac or Windows)

This is now a free download. The download is here.

tags: secure, password, passwords, mac, windows